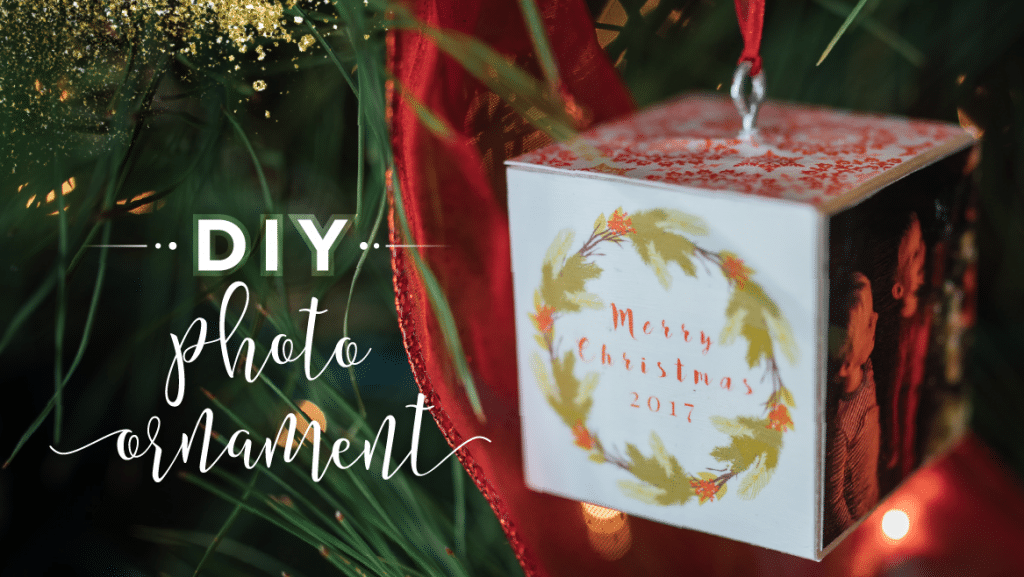
DIY Photo Ornaments {a Simple & Fun Gift}
If you want to spoil someone you love with a DIY gift, giving them a custom photo ornament is going to be your new fave thing! These little cubes of joy have just the right amount of hand made flair…. but also pack a swanky aesthetic punch! In simple terms: DIY photo blocks have both form and function!
For this simple and fun photo ornament tutorial, I reached out to my client, K.C. Crow, and asked her to share some of her favorite tips and tricks for creating these woodblock ornaments! She teaches her clients to make these ornaments {her full tutorial is on her site} and says they’re both super easy to make and really inexpensive as well! Win-win!
Now a little word before we get started: don’t put these Christmas ornaments definitely aren’t limited to just holiday time. She’s seen clients make alphabet ornaments {coordinated with a baby’s nursery colors}, name ornaments for room decor, and other cute decorations during other holidays around the year!
Alright, I’m going to pass this off to K.C. and let her share her best tips and tricks for making these photo block ornaments a success!

Choosing Backgrounds for Your DIY Photo Ornaments…
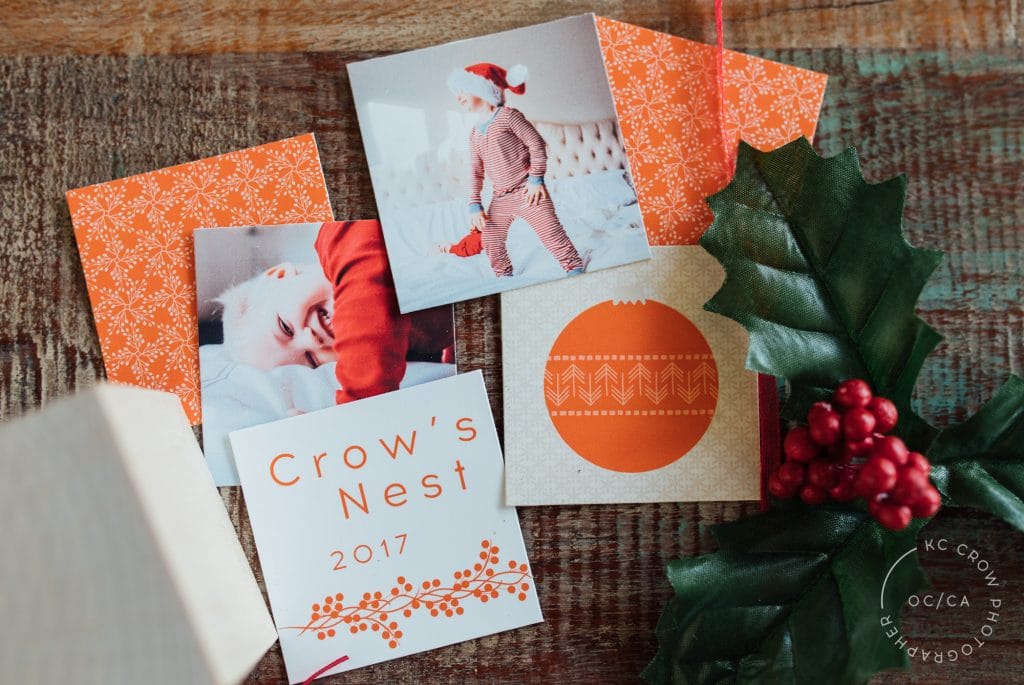
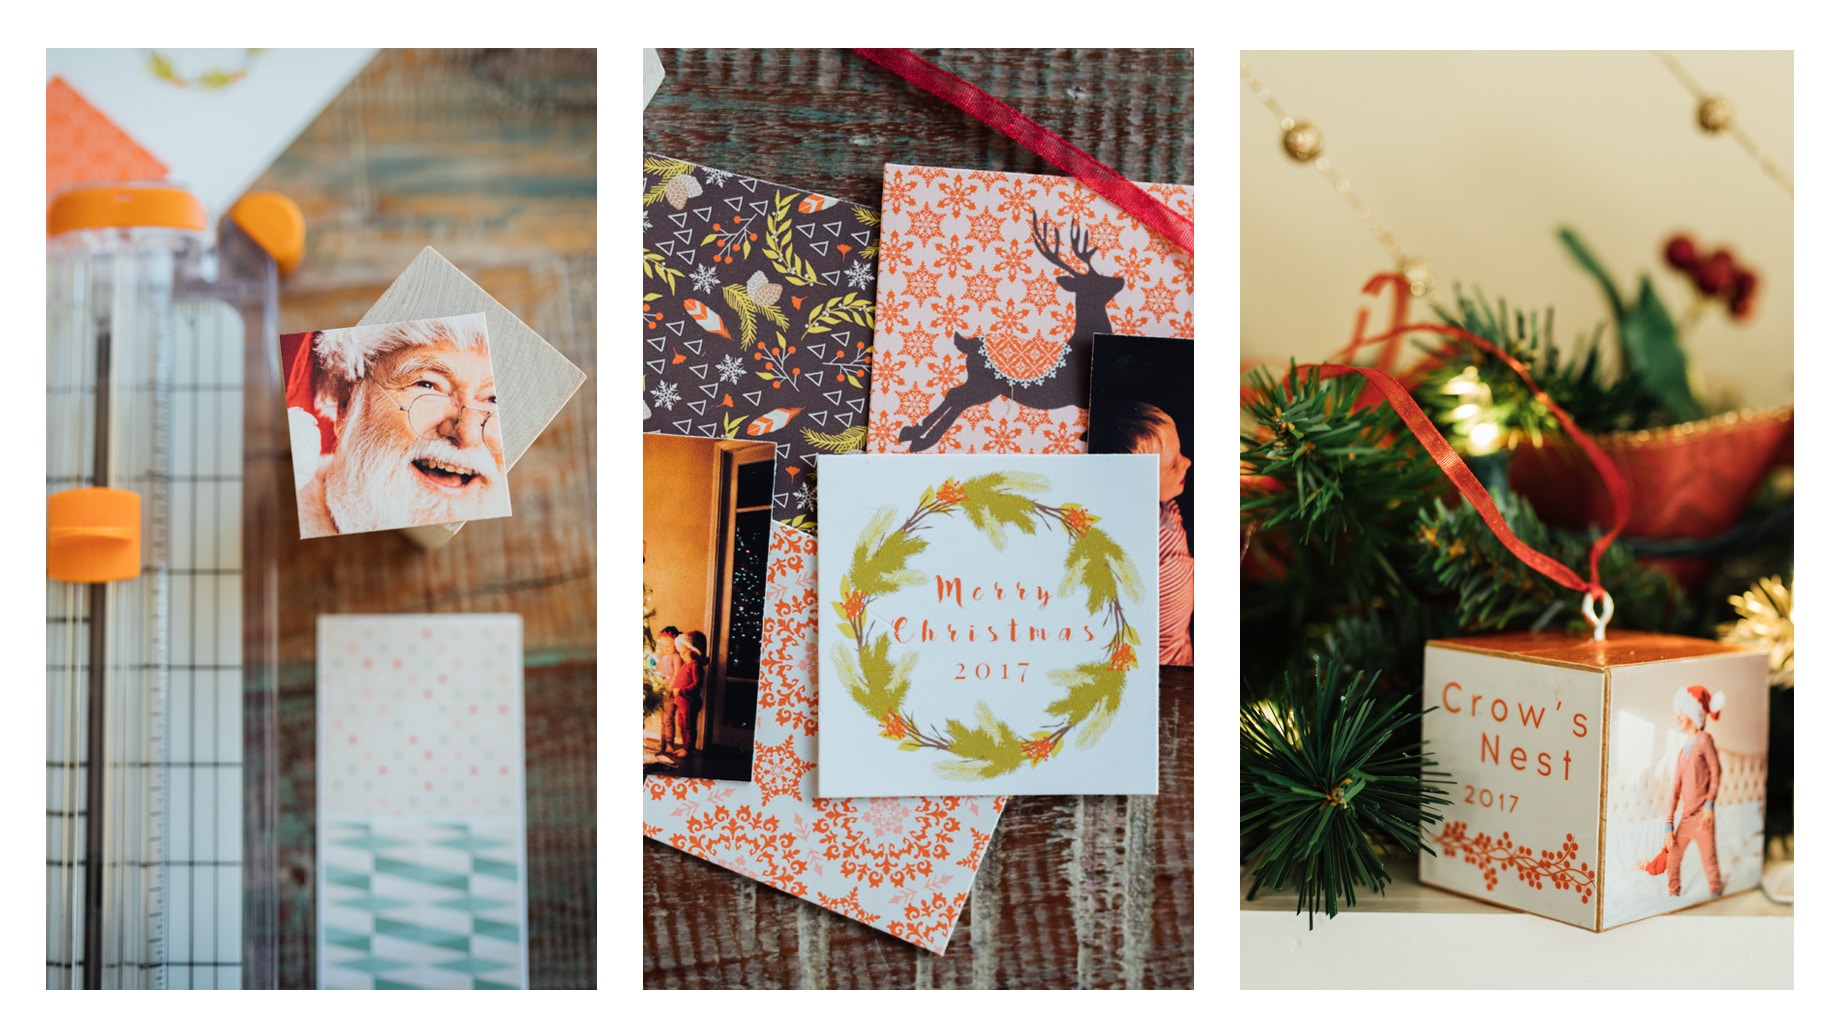
To start, determine what you are going to use for decorative papers. You can choose your paper based upon your experience and comfort level with digital art and creation! No matter what you choose, keep in mind that you will need six squares per block {four sides, a top and a bottom}.
Simple Backgrounds
Use wrapping paper or scrapbook paper for your ornament. Be mindful of super “busy” patterns and stay away from really thin papers. K.C. says that she found it worked well to have all sides of the ornament printed out on one piece of the same paper {instead of cutting them out individually}.
Photo Ornament Backgrounds for People Comfortable with Computers
Considering downloaded a free trial of PicMonkey and used their holiday backgrounds but I personally found it to be a bit of a learning curve to use. If you go this route, select “Collage” from the top bar, and then “Square Deal” for the layout. I recommend the template that has a grid of 3 x 3 squares. They will print a little bigger than your 2”x 2” needs so make sure you have space to crop down when you trim them. If you use the grid of squares that has 4″ x 4″, they print a bit too small for your blocks.
Once you have your layout selected, you can easily drag and drop from swatches, upload your images and add text to each square.
Advanced Background Creation for Your DIY Photo Blocks
If you’re more comfortable using Photoshop, you may use digital patterns and illustrations purchased from a site, such as Creative Market. There are TONS of options here, just search for something like “holiday patterns” and you’ll see what I mean. There are literally endless possibilities for customizing your DIY photo ornament.
Once you have the “paper” portions of your ornament determined and printed, trim them down to fit your block. A paper trimmer makes this super easy but there is no reason why using simple scissors wouldn’t work as well!

Assemble Your DIY Photo Ornaments
Now comes the fun part of creating these custom photo blocks! Using a sponge brush, coat one side your block with a generous amount of Mod Podge. Cyrissa prefers the sparkly Mod Podge, but you can choose whichever kind makes your heart happy!
 Place one of your sides onto the coated area and press down to remove the ripples and wrinkles from your paper. Put a very light coat of the Mod Podge over the top of the paper square. I use a second larger sponge brush to brush off the excess goop. Repeat this process around the other three sides of the block and then complete the bottom. Let it dry for at least 30 minutes.
If you have a Cricut or similar paper cutter system, you could add some fun layered paper designs on your block either over a papered background or straight onto the wood. The possibilities are endless – use your imagination!
Put the Finishing Touches on Your Custom Photo blocks
Draw an “x” from corner to corner on the top of your block. The place where the lines intersect will give you the center of the block. This is where you’ll screw in your hanging loop. You should be able to easily screw it in by hand but try not to over screw it so that the wood at the top of the cube doesn’t warp. Once it is is in, make a straight cut to the center of the square you were saving for the top of the ornament. Coat the top of the ornament with Mod Podge and slide the paper on past the screw finishing up with a final coat of Mod Podge. Let it dry for at least 30 minutes.
Once everything is dry, add a cute ribbon for hanging on the tree!
Now go make your own DIY Photo Ornaments!
Then come right back here and tell us all about it! Did you find a trick or hack that made the process easier?! Share details in the comments! Can you think of a create way to display these, beyond the Christmas tree! We wanna know! Pin this on Pinterest for easy reference later, then use the comments {below} to help make this tutorial even more helpful for others!

 K.C. Crow, of Crow’s Nest Photography, is an award-winning child and family photographer in Orange County, California specializing in lifestyle images and storytelling albums. She uses mostly natural light but has a studio light set up to use as needed. She’s been in business for less than 2 years and was named the 2017 Best New Emerging Child Photographer in the NAPCP international competition.
+ show Comments
- Hide Comments
add a comment